Laser engraving process of prototype
Laser engraving is a high-precision manufacturing technology widely used in prototyping, product design validation, and small batch production. This article provides a comprehensive overview of the laser engraving process in prototyping applications.
1. Introduction to Laser Engraving
Laser engraving uses a focused laser beam to evaporate or ablate the surface of materials, creating patterns, text, or markings. Its advantages include high accuracy, non-contact processing, and compatibility with a variety of materials such as wood, plastics, and metals.
2. Design Preparation and File Formats
Before starting laser engraving, you need to prepare your design files. Common design software includes Adobe Illustrator, CorelDRAW, and AutoCAD. Design files should be in vector formats like .dxf or .svg to ensure the laser engraving machine can accurately read the path information. Additionally, engraving parameters such as power, speed, and engraving sequence should be adjusted according to the material to achieve optimal results.
3. Material Selection and Characteristics
Different materials react differently to laser engraving, so choosing the right material is crucial for success.
| Material | Characteristics | Typical Uses | Notes |
|---|---|---|---|
| Wood | Easy to engrave, natural grain | Custom gifts, decorations | Prevent burning by controlling power |
| Acrylic | Glossy, available in many colors | Signage, lighting | Melting edges during cutting |
| Metals (stainless steel, aluminum) | Durable, strong texture | Industrial parts, nameplates | Requires high power or coatings |
| Leather | Soft, flexible | Crafts, apparel | Prone to deformation; use low power |
| Glass | High-end appearance | Trophies, artworks | Surface engraving only; fragile |
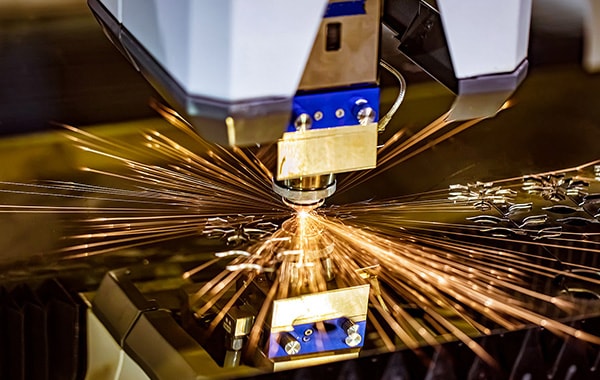
4. Laser Engraving Machine Setup and Operation
Prior to engraving, you should:
- Focus: Ensure the laser beam is focused parallel to the material surface for the best engraving quality.
- Parameter Settings: Adjust power and speed based on the material type and thickness.
- Safety Checks: Confirm the engraving area is free from flammable materials, ensure good ventilation, and that operators wear protective eyewear.
During operation, closely monitor the process and adjust parameters as needed to address any issues.
5. Engraving Process and Quality Control
Key points to ensure quality during engraving:
- Monitoring: Keep a real-time watch on the engraving progress to catch any abnormalities.
- Cleaning: Remove smoke and dust generated during engraving regularly to maintain quality.
- Adjustment: If the engraving result is unsatisfactory, fine-tune parameters by reducing speed or increasing power.
Strict quality control throughout the process ensures the final product meets expectations.
6. Post-Processing and Application Examples
After engraving, post-processing may include:
- Cleaning: Remove residual smoke and dust to improve appearance.
- Sanding: Smooth out edges to remove burrs and enhance tactile feel.
- Assembly: Combine engraved parts with other components to complete the product.
For example, when creating a wooden model, laser engraving enables rapid production of precise parts that, once assembled, form an accurate prototype, greatly accelerating design verification.
Rapid Model:
By following this process, you can fully leverage laser engraving technology to achieve efficient and precise prototyping. Whether for product validation, functional testing, or small batch manufacturing, laser engraving plays a vital role. We hope this guide provides valuable insights to support the success of your projects.