1. The Hidden Cost of CNC Tolerance Errors
In high-performance manufacturing, even a 10-micron deviation can determine whether a component functions correctly — or causes a costly failure. Precision in CNC machining is not a luxury; it’s a necessity. If left uncontrolled, tolerance errors can lead to mismatches, excessive wear, increased scrap rates, or even catastrophic failures in mission-critical sectors such as aerospace and medical.
For instance, a misaligned valve in an aircraft’s hydraulic system—caused by tolerance stack-up—can trigger system failure. Understanding the true cost of inaccuracy is the first step toward eliminating it from the production process.
2. How to Engineer for Precision Before Machining Begins
Precision doesn’t start in the machine shop—it starts at the design desk. Designs that overlook machining capabilities are destined to fail. Key strategies include:
- Clearly Define Functional Tolerances: Use GD&T (Geometric Dimensioning and Tolerancing) standards to communicate what truly matters for function.
- Material Selection: Choose materials with stable thermal and mechanical properties, especially for tight-tolerance parts.
- Design for Manufacturability (DFM): Simplify geometries to minimize tool deflection, residual stress, and machining time.
- Thermal Expansion Considerations: Include simulations or empirical adjustments for parts exposed to varying thermal environments.
When designs account for machining realities and constraints, the probability of hitting tight tolerances increases dramatically.
3. How CNC Machines, Environment, and Tooling Define Accuracy
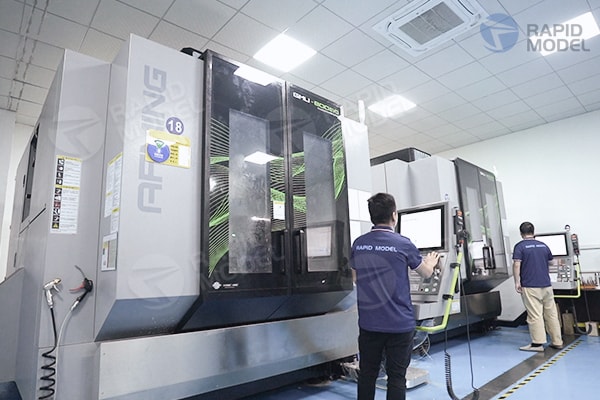
Even the most well-designed part won’t meet spec on an unstable platform. Precision machining depends heavily on machine setup, equipment capability, and environmental control.
- Machine Type: Use high-rigidity, thermally stable CNC machines—preferably equipped with linear scales and direct-drive spindles for repeatability.
- Tooling: Choose wear-resistant, application-specific tools such as PCD, CBN, or high-grade carbide.
- Fixturing and Clamping: Design custom fixtures to minimize part movement and vibration during machining.
- Environmental Controls: Maintain consistent shop temperature, eliminate drafts, and monitor humidity to prevent dimensional shifts.
Regular calibration and predictive maintenance are essential—not optional—for repeatable accuracy.
4. CNC Error-Proofing Techniques: Step-by-Step Process Optimization
Once design and setup are established, focus shifts to process-level error prevention. This is where planning meets execution.
- Rough vs. Finish Machining: Always leave a uniform allowance for finishing to enable stable, low-load cutting conditions.
- Toolpath Strategy: Use CAM software smartly—implement adaptive toolpaths, trochoidal milling, and high-efficiency roughing where appropriate.
- Tool Wear Compensation: Apply dynamic wear compensation and regularly check tool offsets.
- Real-Time Monitoring: Use sensors or IoT platforms to track spindle load, tool wear, and thermal drift in real time.
This structured approach supports iterative refinement and eliminates costly mid-batch deviations.
5. Tools and Strategies to Guarantee Precision
Inspection is the final—and often most critical—line of defense against failure. It not only validates components but also closes the feedback loop.
- Coordinate Measuring Machines (CMMs): Ideal for 3D feature verification. Use probe-based systems for contact inspection or laser-based for speed.
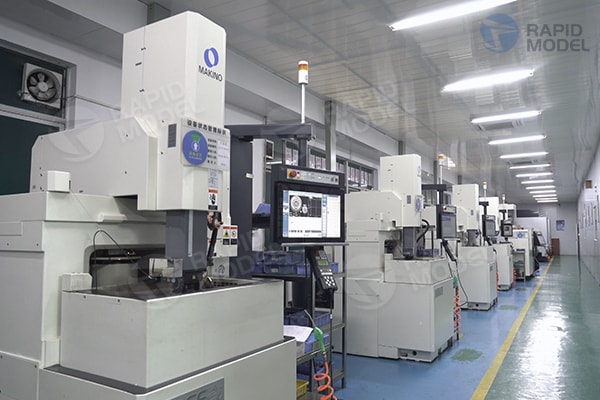
- Optical Comparators & Vision Systems: Useful for 2D profile checks and batch inspection of small components.
- First Article Inspection (FAI): Validate both part and process with full inspection of initial production units.
- Statistical Process Control (SPC): Track real-time data to catch process drift before it leads to non-conformities.
Treat inspection not as a bottleneck but as a strategic tool for quality assurance and process improvement.
6. Lessons from High-End Industries
Industries operating at the bleeding edge have already perfected the full loop from design to inspection. Here’s what we can learn:
- Aerospace: Integrates design redundancy with rigorous inspection protocols. A 0.005 mm error could ground an aircraft.
- Medical Devices: Demands full traceability, cleanroom-compatible materials, and ISO 13485 compliance.
- Semiconductors: Utilizes sub-micron tools with nanometer repeatability for ultra-precise fabrication.
These sectors rely on validated processes, robust quality systems, and tight collaboration between design and manufacturing. By adopting their best practices, any CNC shop can become a precision partner.

Final Thoughts from Rapid Model
Precision CNC machining isn’t about perfection at a single step—it’s about holistic control throughout the product lifecycle. By designing for precision, selecting the right equipment and tools, optimizing every process stage, and reinforcing it all with rigorous inspection, you don’t just make parts. You make high-reliability, high-performance components that raise the standard of what’s possible.
Frequently Asked Questions
1. What is considered a high-tolerance CNC part?
Answer:
A high-tolerance CNC part is typically defined as a component requiring dimensional accuracy within ±0.01 mm (10 microns) or tighter. These parts are used in industries where even microscopic deviations can cause functional issues, such as aerospace, medical, or semiconductor manufacturing. High-tolerance parts demand strict process control, high-quality machines, stable environments, and advanced inspection techniques.
2. How can I reduce tolerance errors during CNC machining?
Answer:
Reducing tolerance errors involves optimizing every stage of the process:
- Design with GD&T and DFM principles.
- Use stable, high-rigidity machines with proper calibration.
- Apply smart toolpaths and leave uniform finishing allowances.
- Regularly monitor tool wear and machine conditions.
- Implement precise fixturing and environmental control.
Together, these steps minimize stack-up errors and increase machining consistency.
3. What are the best tools for inspecting precision CNC components?
Answer:
The best tools depend on your application, but commonly used ones include:
- CMMs (Coordinate Measuring Machines) for 3D geometry.
- Optical comparators and vision systems for 2D features and batch runs.
- Laser scanners or probes for non-contact, high-speed inspection.
- SPC software to monitor trends and catch deviations early.
Choosing the right tool ensures accurate validation and helps improve overall quality.
4. Why is design for manufacturability (DFM) important for precision parts?
Answer:
DFM helps engineers create parts that are easier to machine accurately. By simplifying complex geometries, selecting appropriate materials, and setting realistic tolerances, DFM reduces tool deflection, machining time, and risk of error. Especially for high-precision components, DFM can be the difference between consistently hitting spec—or repeatedly scrapping parts.


